This article is about the original Webnode editor. If your site was created in the new editor, you can go to the new article How to Add a Link.
If you need to direct visitors from your site to another website, article, or to another page on your site, you can simply insert a link in the formatted text.
1. After logging into Webnode and the online editor of your project, open the page you want to insert a link on.
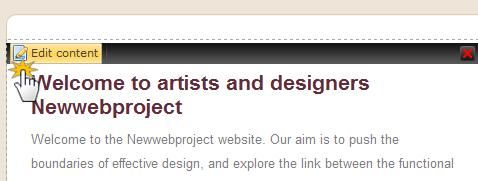
2. Click "Edit Content" on the black menu bar of the text block edit the text.
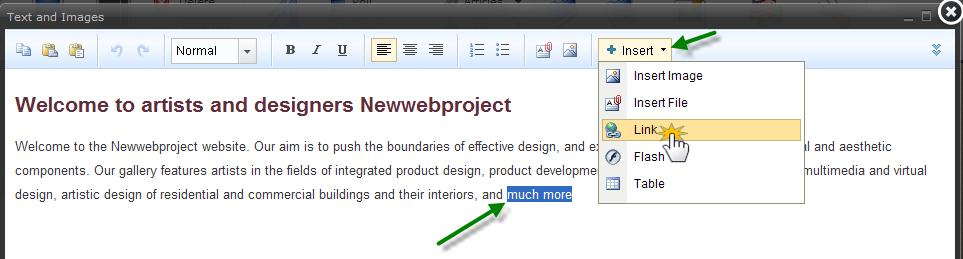
3. Find a word or phrase in the text that you want to use to create a link from and highlight it with the cursor. In the toolbar of the text editor click on "+ Insert" and select "Link" from the menu.
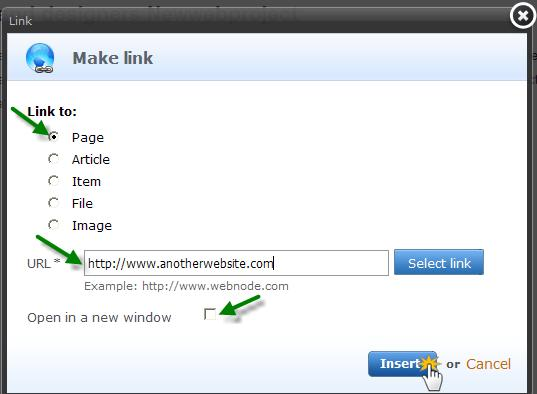
4. Now the “Link” window opens. Select "Page" for the type of link and in the " URL *" field write the web address where the link will redirect visitors. If you want the link to open in a new window, check the "Open in new window" option. Click on "Insert".
(If you want to create link to another part of your website use the blue "Select link" button to select any of the pages or subpages of your site.)
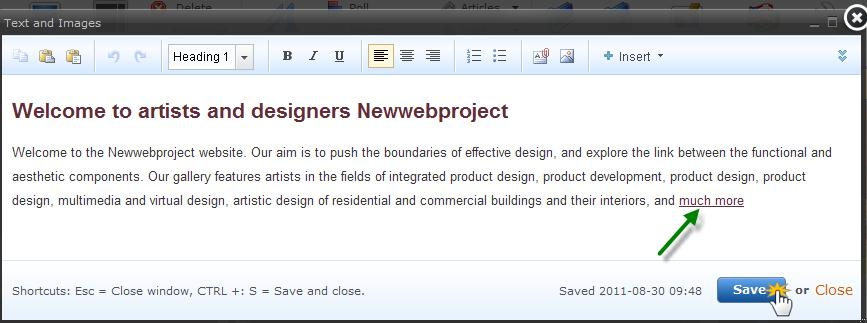
5. Now you will find the embedded link in the formatted text. To finish creating the link you just need to confirm your changes by clicking the "Save" button.
6. The link is now functional.

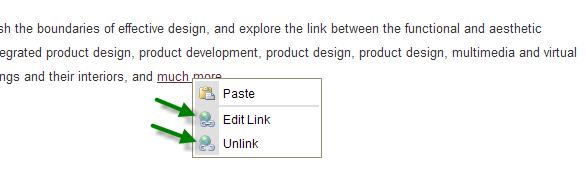
7. If you want to edit or delete the link, open the block of text where it is located (click on the “Edit content" button) and right-click on the link. A drop-down menu will open where you can choose whether you want to "Unlink" or "Edit link". Choose the option you need. Then save the changes by clicking “Save” again.
8. Do not forget to “Publish” the changes so that it can be seen by the visitors of your site.
Tip: You can use more than just text to create links, you can also select images to make links. Just use a picture instead of words and make the link the same way described above.