In this article, you will find information on how to edit contents of the e-shop automatic notifications. Editing notifications is a premium feature available in the Business package. If you have a lower package, the only notifications that will be sent are the ones for order confirmation and order dispatch.
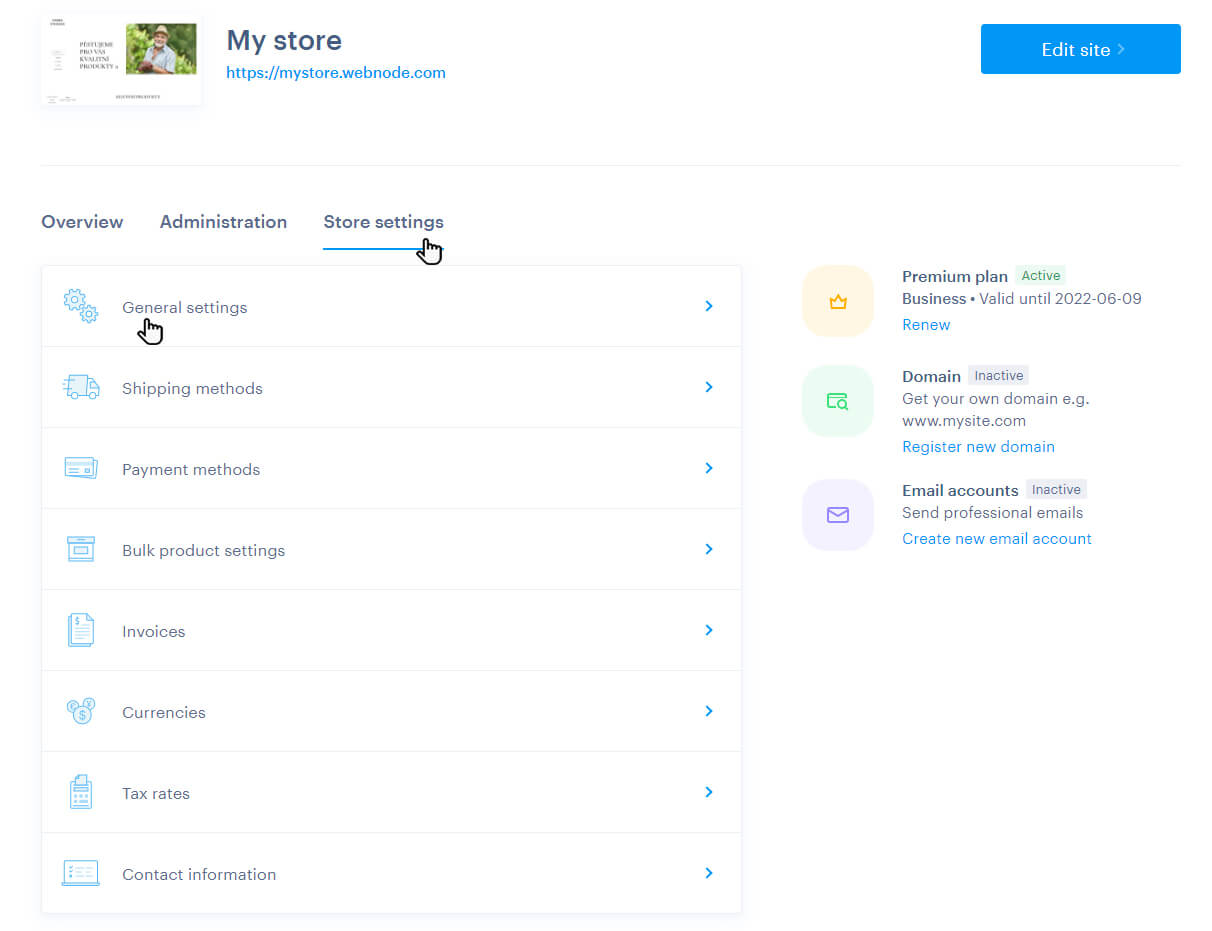
1. In the project administration, select Store settings and General settings.
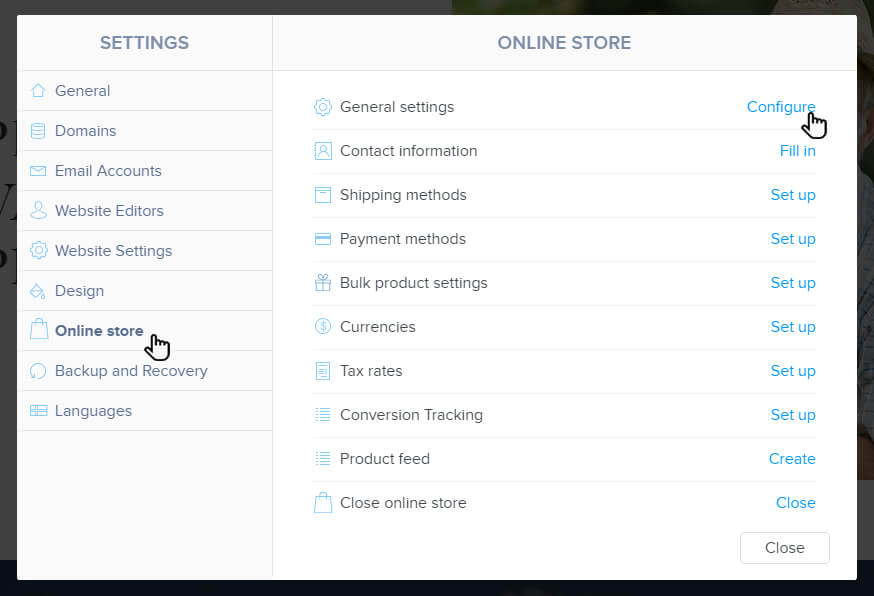
2. The other way leads through the editor where you click on Settings.

3. Here, in the Online store tab, click on Configure in the General settings row.
4. Scroll down and click on the arrow icon next to Customize store emails, where you can manage selected notifications. If you have more languages in your e-shop, you can switch between them and set up the content of each notification in a given language.
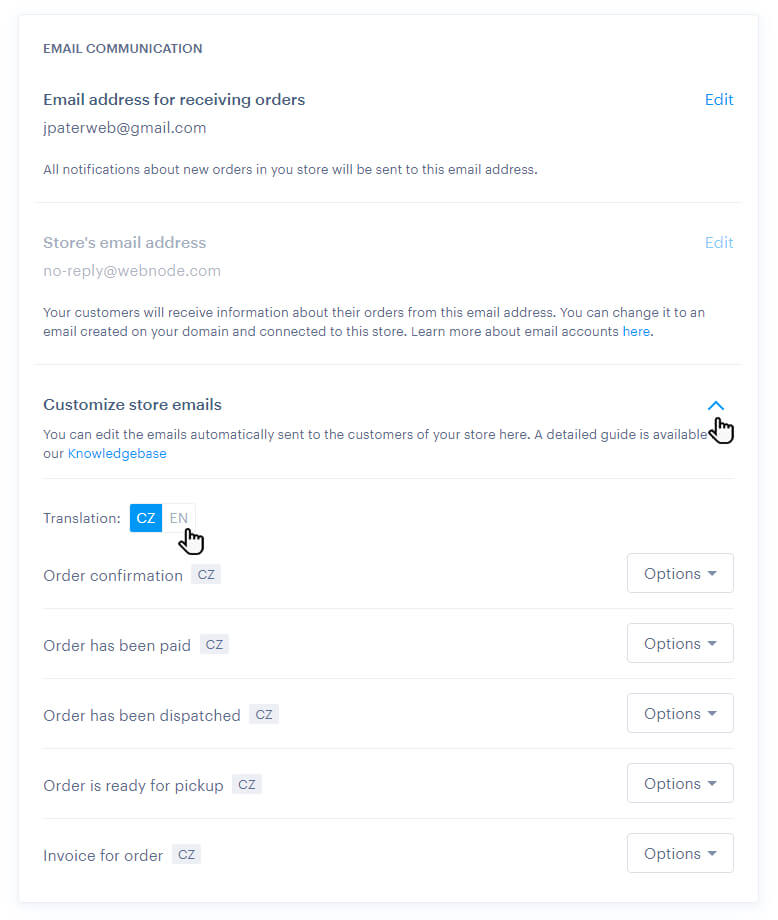
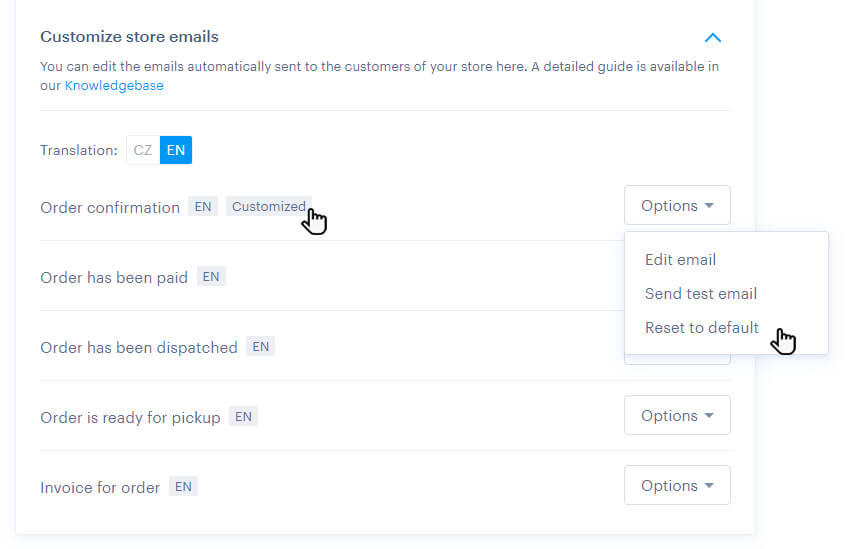
5. To edit the content of a selected e-mail, click on Options and then on Edit email.

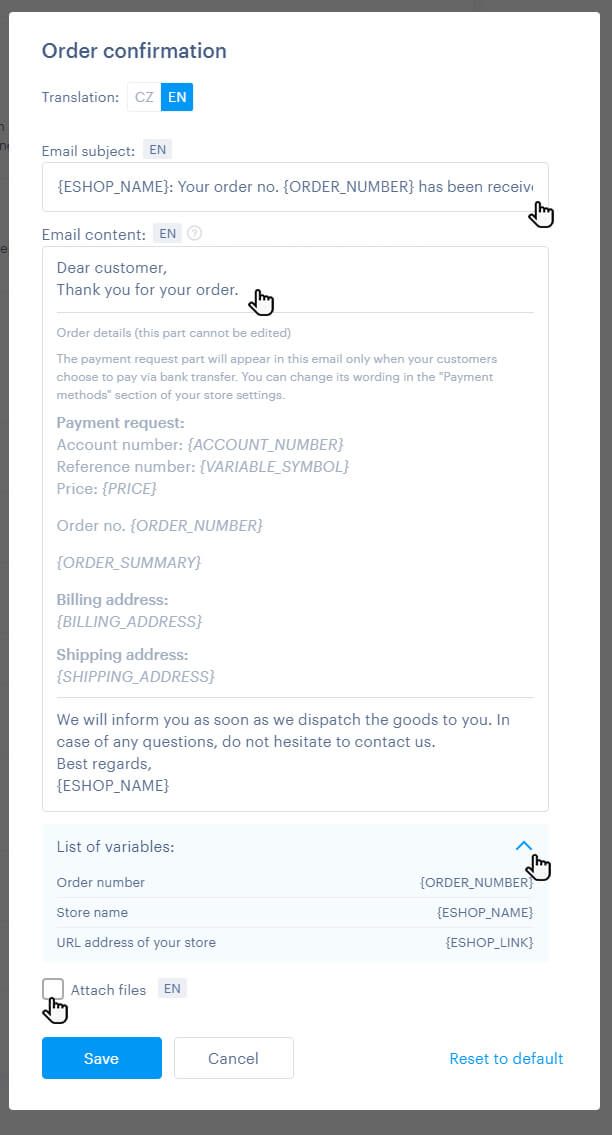
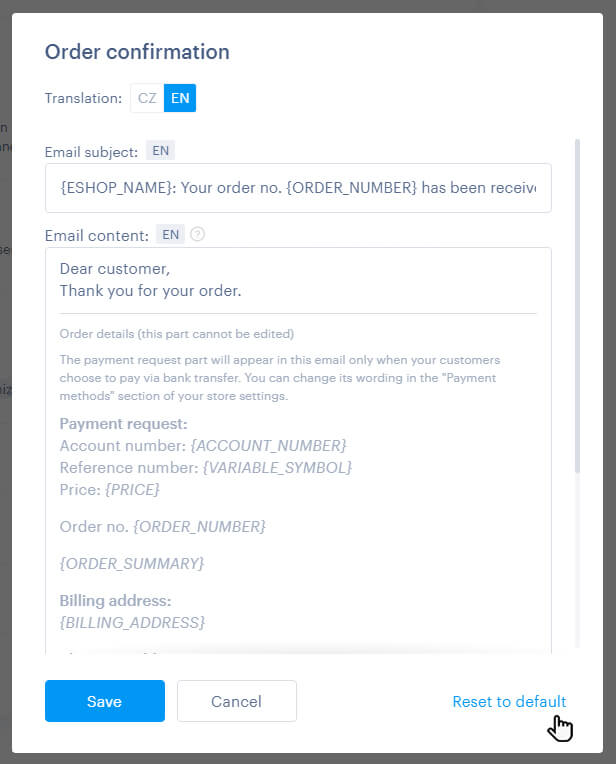
6. At this point you can edit the content of automatic notifications. You can edit the subject, e-mail content, and you can also add an attachment (this can be up to 200 kB in size). You can also find a list of variables there, which you can insert into the e-mail. The middle part of an e-mail can’t be edited; you can find the order information there, thanks to which you don’t have to worry about your customer not receiving the important order data (ordered product listing, their price, payment details etc.).
With variables, we understand special symbols which generate values such as: Order number, E-shop name, E-shop URL address etc. in the text of an email. They are marked by angle brackets within the editing of notifications. For example {ORDER_NUMBER} for Order number.
Restoring notifications to their default state
To restore e-mails to their default state, ie without the modifications you have made, click on Options for the given notification and then on Reset to default. Edited emails are labeled as Customized.
Alternatively, you can do this by editing the e-mail using the Reset to default button.
Sending a test email
If you want to see what the notification will look like from the customer's point of view, you can have a test e-mail sent to you. The message will be sent to the address you are currently logged into the editor. To send a message, click on Options next to the notification and then on Send test e-mail.

Email notification types
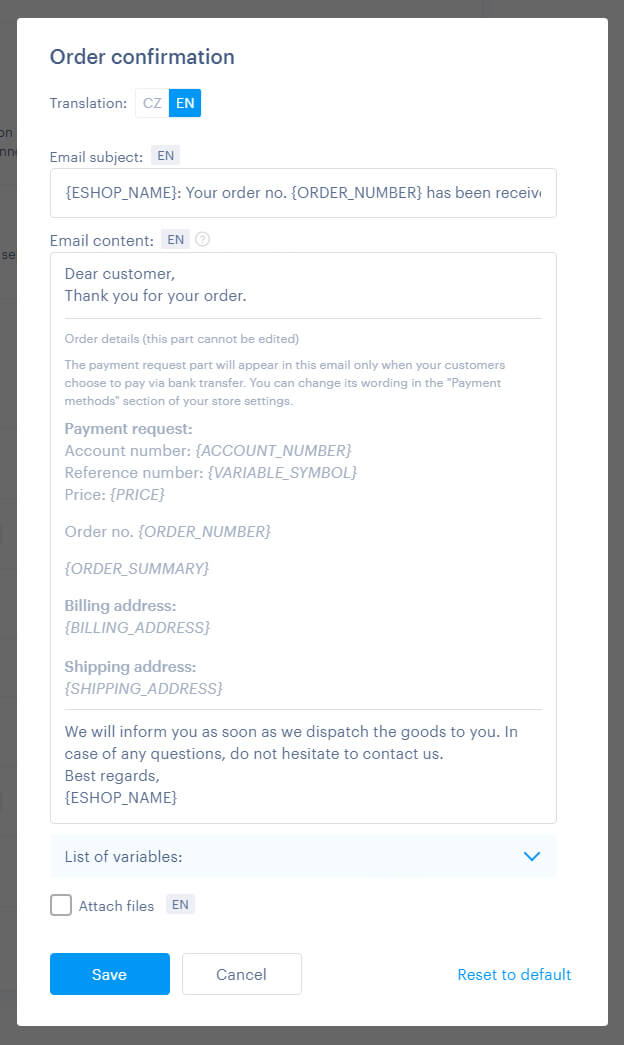
Order confirmation
This type of notification is sent to the customer after they create and confirm the order within the e-shop. The non-editable part of the e-mail contains information about the ordered products, their price, the chosen address and payment method, as well as any billing information. If a bank transfer is selected, the notification also contains a Request for Payment, ie data for payment, which can generally be modified in Payment Methods.
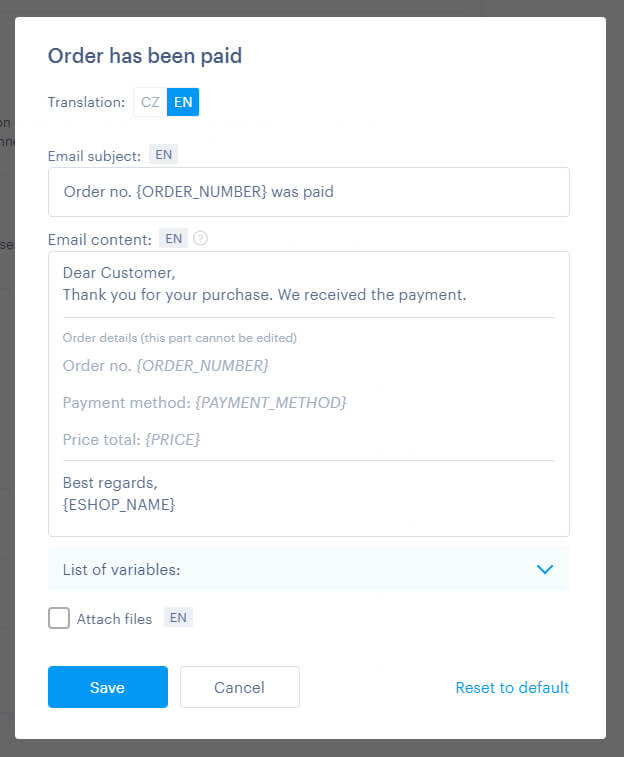
Order has been paid
The notification of the Order has been paid type is sent to the customer after we receive payment for the order. As part of online payment methods (payment by card, Stripe, PayPal) it is sent automatically. In the case of other methods, it is sent after you mark the order in the administration as paid.
The non-editable part contains the order number, payment method and price.
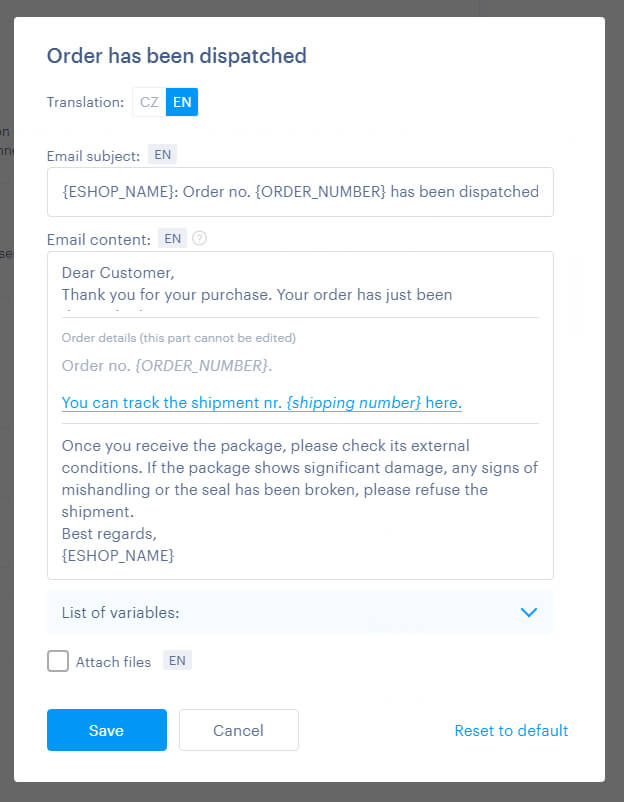
Order has been dispatched
This type of email is sent after you mark as completed within Order Management.
The non-editable part of the e-mail contains the order number as well as a link to track the shipment.
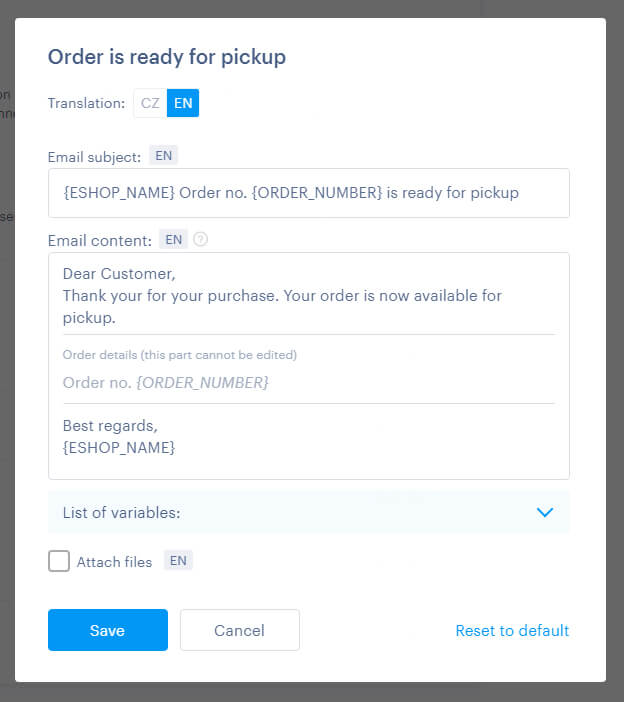
Order is ready for pickup
This e-mail will be sent if the customer selects Personal pickup as the shipping method within the e-shop. The sending itself will take place after you mark as completed within the Order Management.
Only the order number is in the non-editable part.
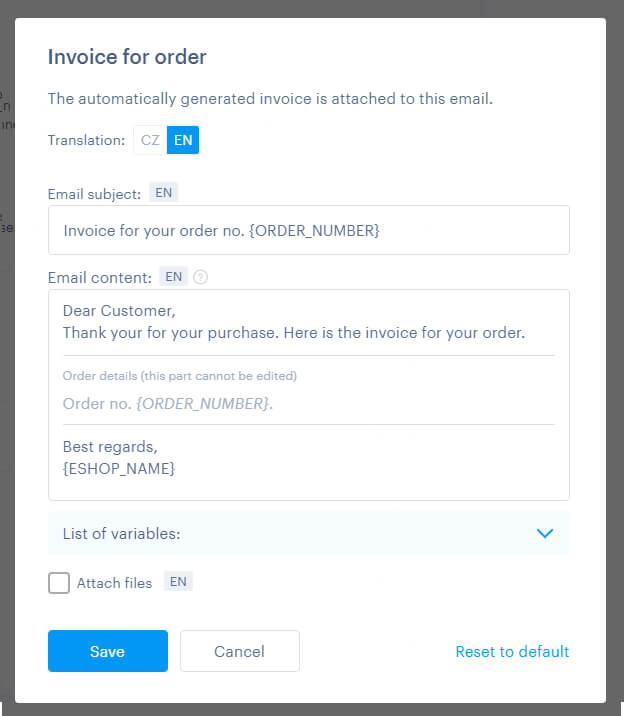
Invoice for order
This notification is used to send an invoice. It is only possible to send it if you have automatic invoicing enabled. It can then be sent automatically or manually according to the settings of this function. You can find more information in our help here.
The non-editable part contains the order number. The given invoice is then automatically inserted in the e-mail attachment.
TIP: If you want to edit orders, you can continue according to the instructions here. You can continue here to create orders manually.