This article is designed to explain how to manage orders made on your online store. Once a customer orders goods from your online store, you will receive a notification that an order was placed. You then will wait for the customer's payment to arrive. Once that is received, you can mark the order as paid and ship their order. Then, you'll be able to mark the order as fulfilled. Now, we'll look at each step in this process.
1. As soon as your customer confirms their order, you will receive a notification by email about an order being placed on your online store. This notification is sent from our no-reply@webnode.com email address.
TIP: Be sure to create a contact in your email settings for no-reply@webnode.com so that you are sure these emails will not be automatically sent to your spam folder.
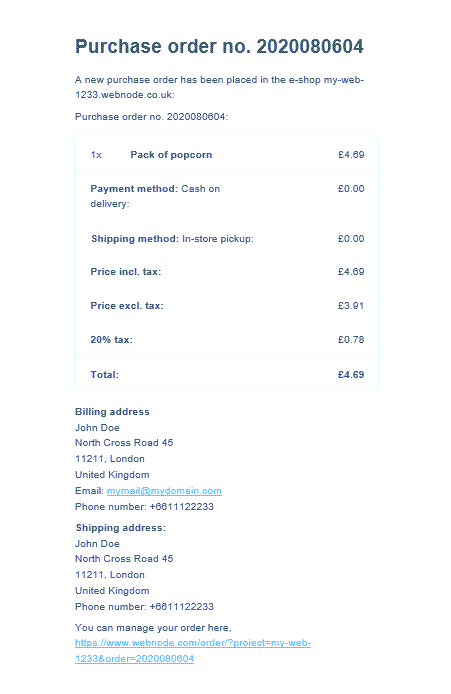
This is what the notification of an order will look like.
2. To work with this order, you can click the link found at the bottom of this notification.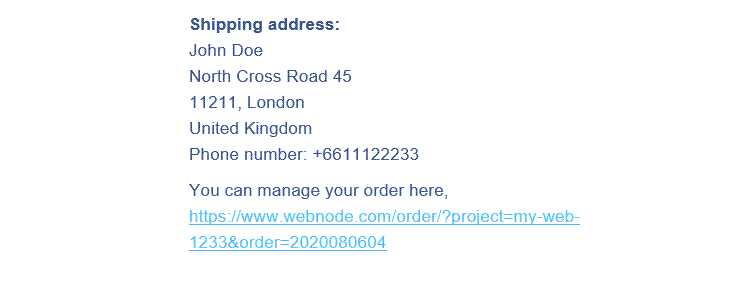
You can also reach the order management page through your My projects page by clicking your online store. Your store's settings page will show where you then click Orders.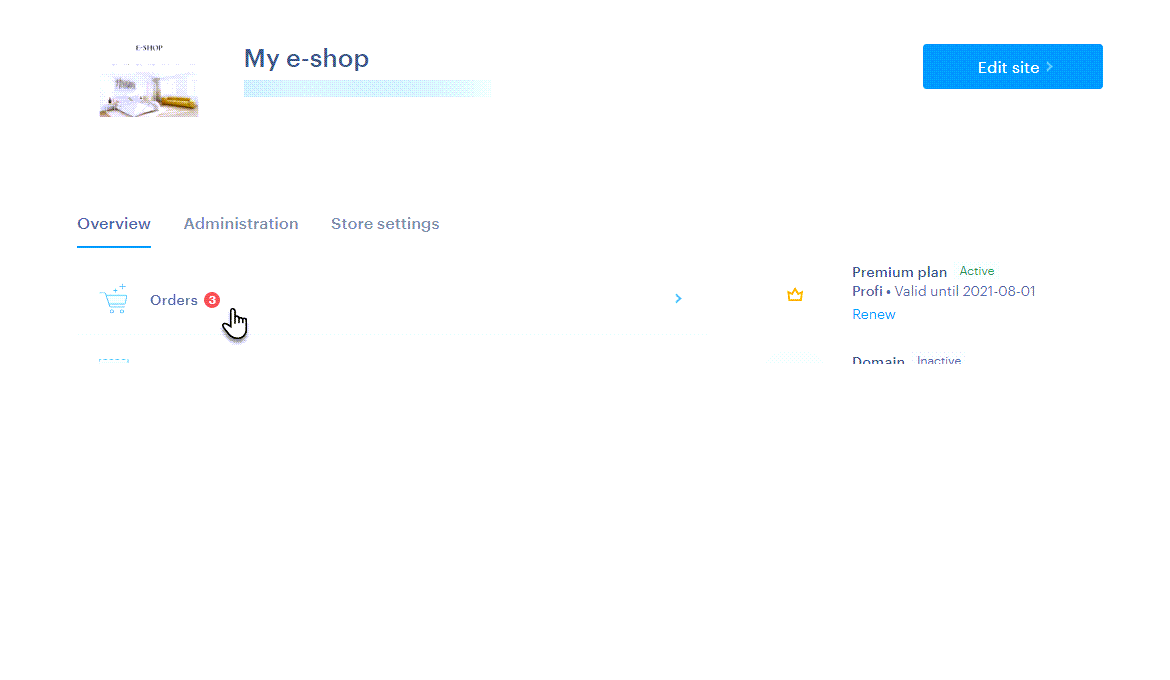
3. To edit an order, click it in the list.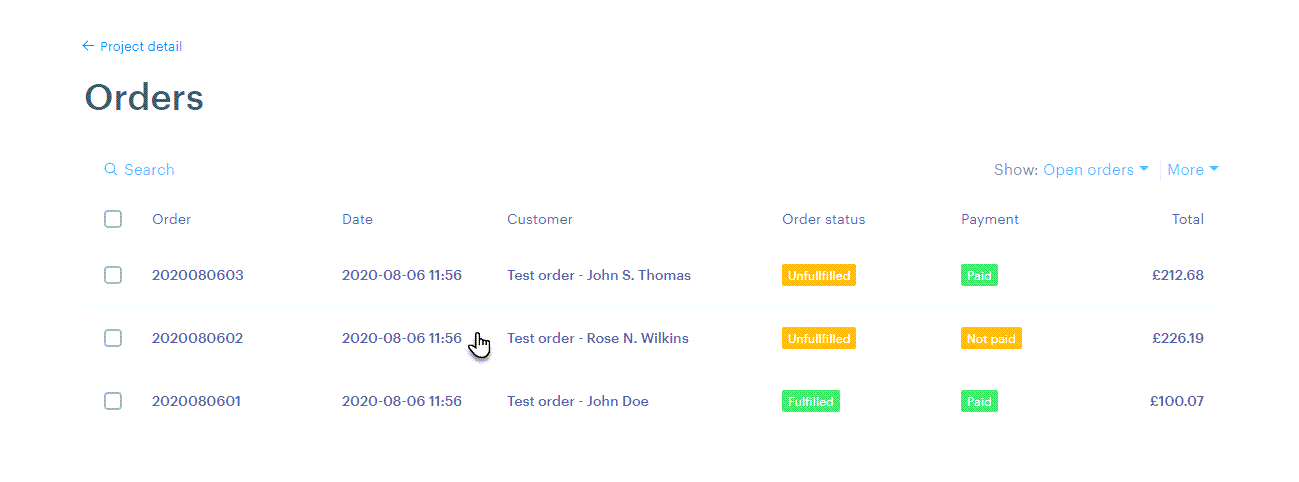
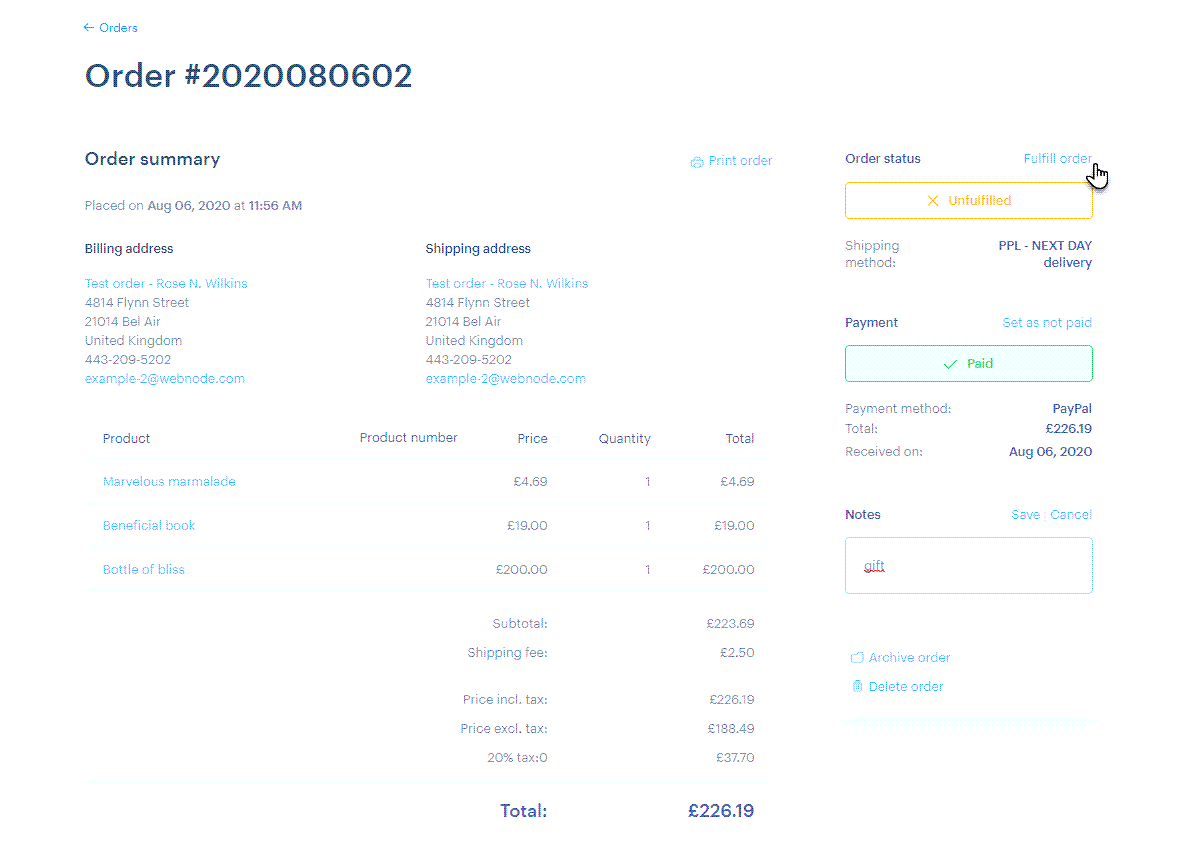
4. The order details will now open and you will be able to manage various aspects of it.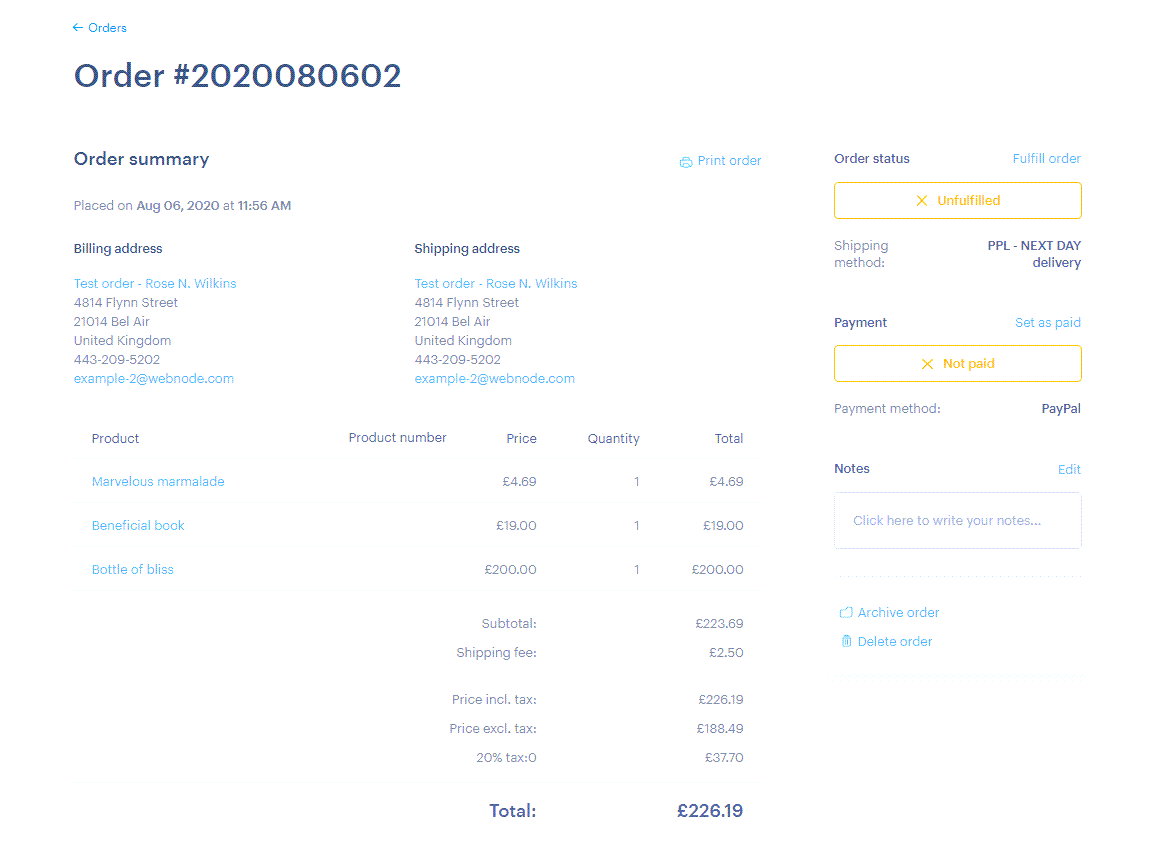
5. Once your customer's payment arrives, you can mark the order as paid by clicking Set as paid.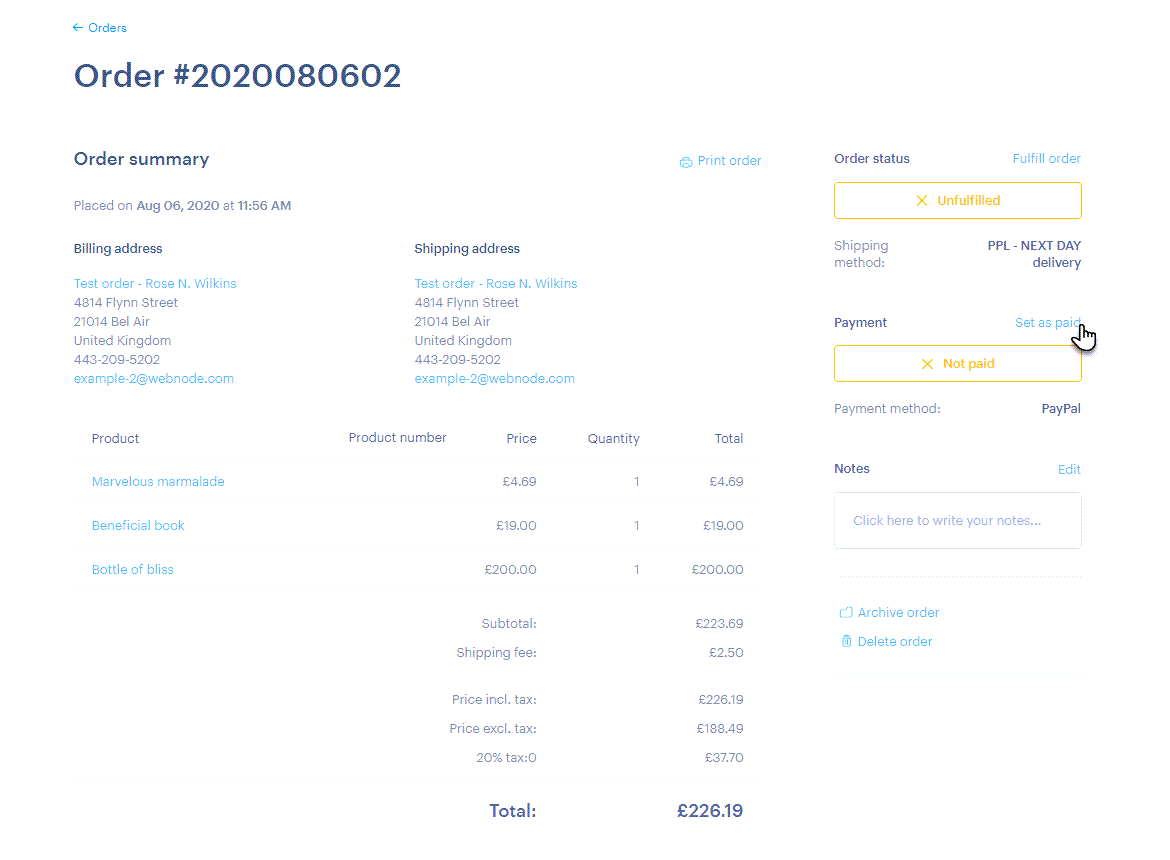
After you change the payment status, you will see the amount received and the date it was changed. If needed, you can also mark the order as unpaid again.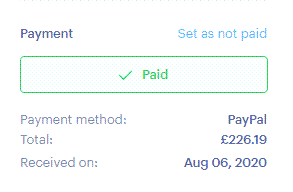
The payment status must be changed manually. The only exception to this are payments received through PayPal.
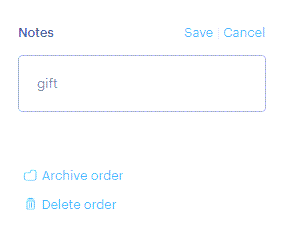
If your customer has any special instructions for their order, you can add these to the field Notes. Do not forget to Save your new note.
5. After you receive your payment, you can then send the ordered goods to the customer. Once the package is sent, you can mark the order as fulfilled by clicking Fulfill order.
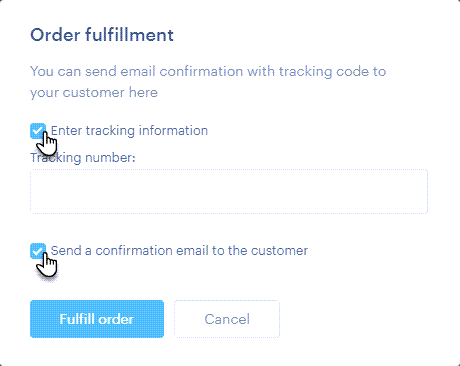
7. In the next step of the process, you set up package tracking.
To activate package tracking, you first have to set up your shipping methods and enter the URL with the package number that you will receive from the shipping company. You can see more details in the article How to Set up Package Tracking. The process of setting up package tracking will be similar for all of your shipping partners.
In the same window, you can also tick the box to send your customer a notification that their purchase was shipped.
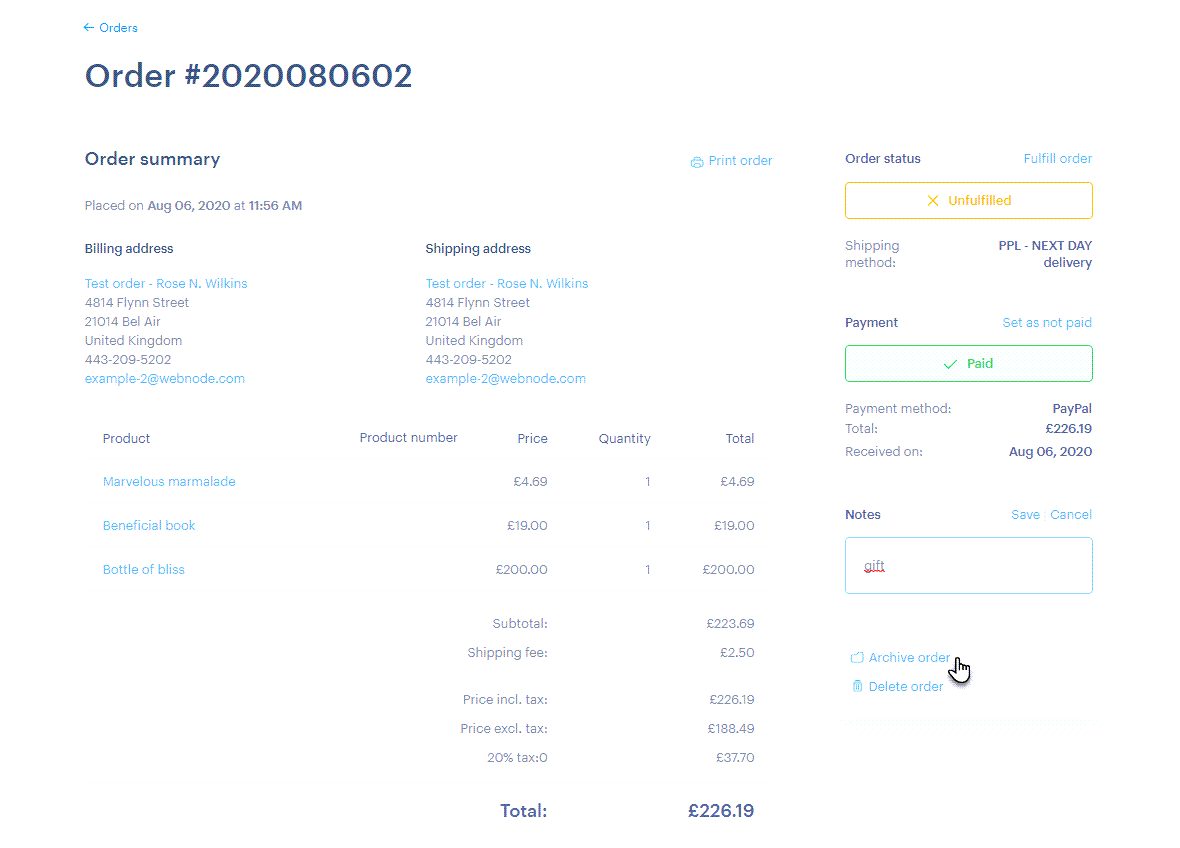
- The order was paid for, shipped and then marked as fulfilled. You can now archive it by clicking Archive order. The order will then be moved to the archive and will not be shown among your open orders. You are also able to delete orders by clicking Delete order. Archiving orders is for fulfilled order while deleting orders should be saved for canceled or similar orders.
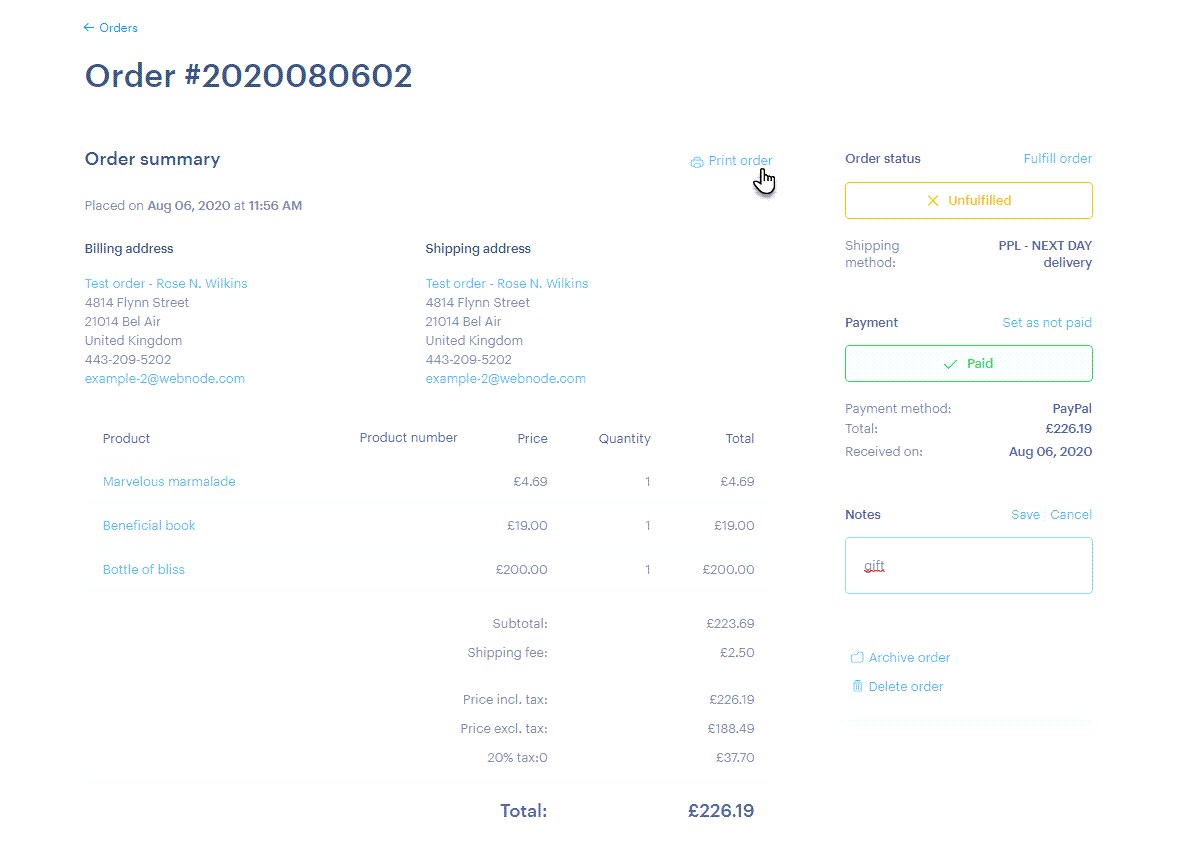
You can print the order by clicking Print order.
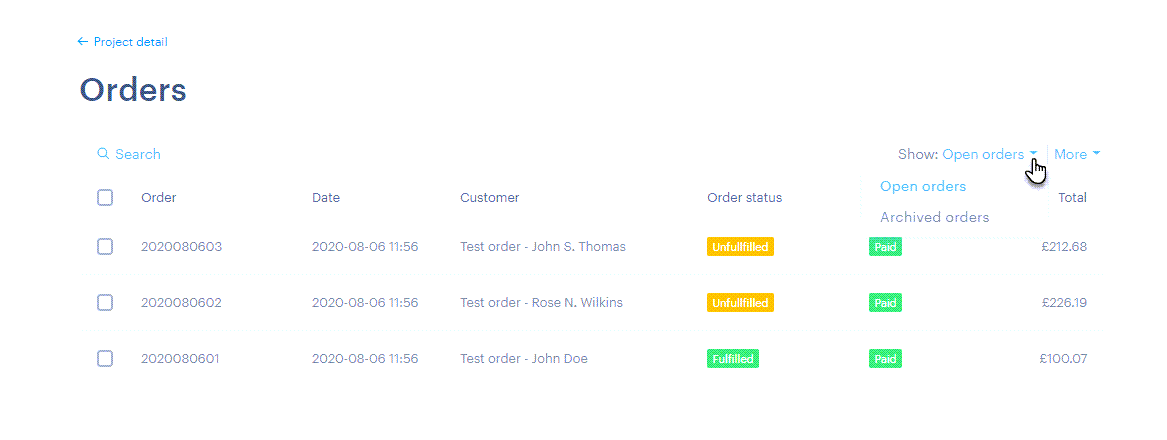
In the main orders menu, you are able to filter your orders by either Open or Archived orders. To filter your orders, click the arrow on the right side of the test Show and choose what you want to see.
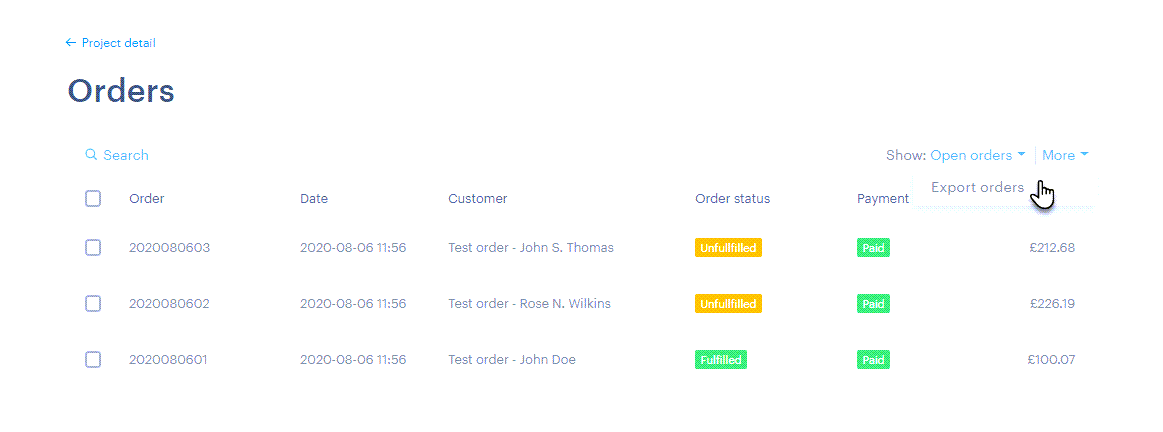
You can also Export orders at this point. Click More and Export Orders. The export is performed to a file in .XML format.
At this point, you might want to set up your shipping and payment methods or you might be interested in seeing how your online store looks to your customers.