In this tutorial, you will learn how to turn on the filter of required IP addresses or entire countries on your website. This function can be useful, for example, in situations where you need to block a user (or a group of users) from accessing the site or from filling out forms, or sending orders on the site. IP Filters feature is part of the Premium Site Security add-on service, which also includes Form Protection and Malware Scanning.
More information on purchasing this service can be found directly in the article How to purchase Premium Site Security.
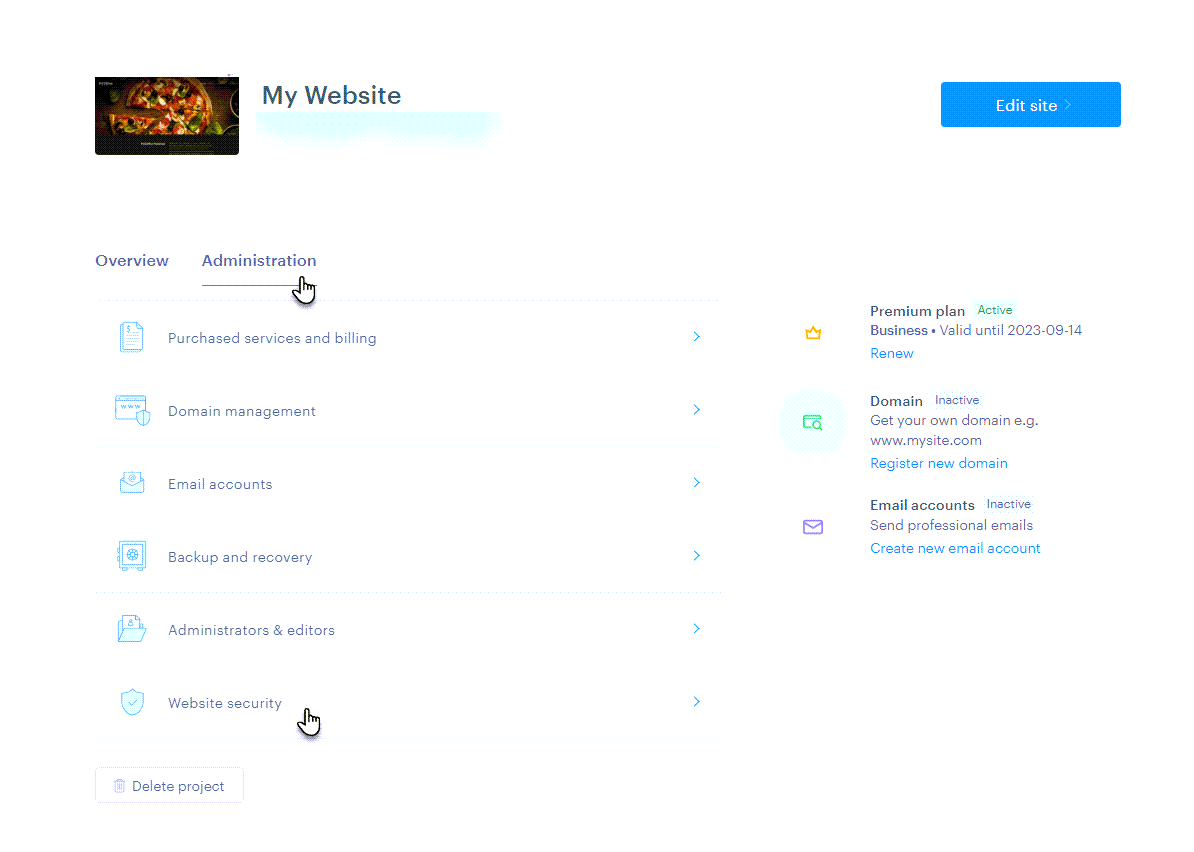
1. To work with the IP address filter, in the project administration, click on Administration and then on Website Security.
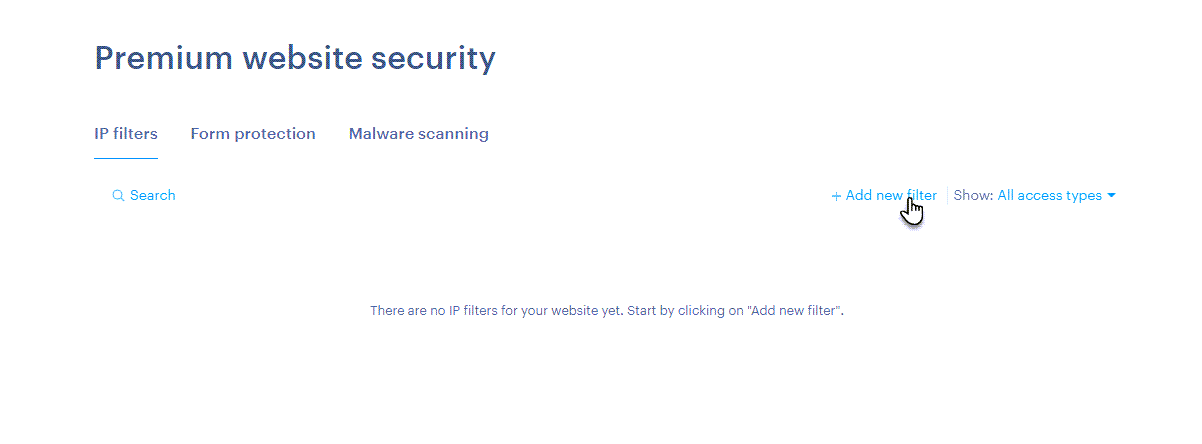
2. To add a new address, click Add new filter.
3. Here you can set the blocking properties.
Filter type: Select whether you want to select a specific IP address or the entire country.
ATTENTION: Using the whole country blocking feature is at your own risk. If your site is located in one of the countries of the European Union and unless local legislation requires otherwise, you should not block access from other EU countries.
IP Address/Area: Here you can fill in a specific IP address or select the area you want to block. Alternatively, it is possible to block entire continents.
It is also possible to enter a range of IP addresses in the IP address field, when you replace the numerical part of the address with an asterisk (*), i.e. 168.1.*, for example.
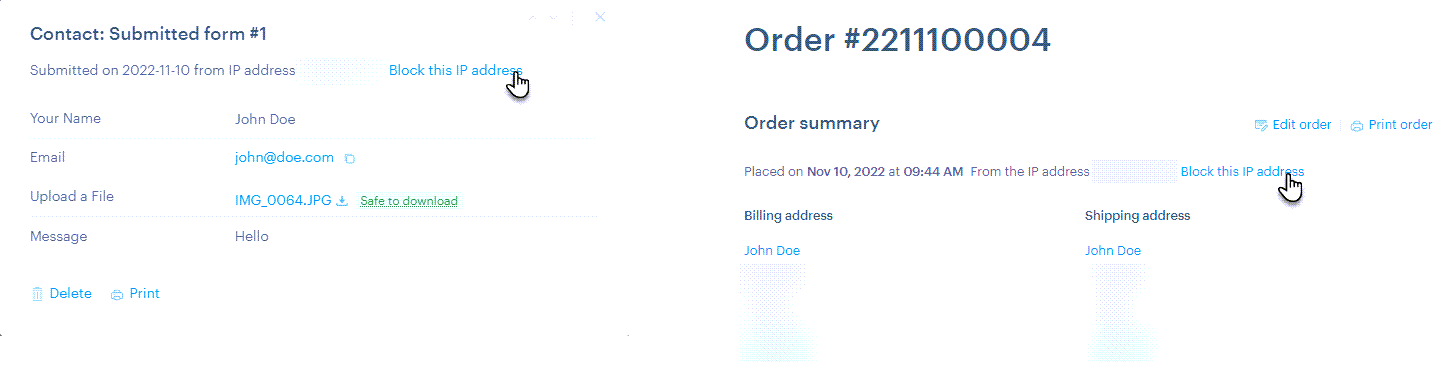
TIP: You can get the IP address in the completed form or in the order.
Access: Here you can set whether you want to block or allow the given IP address/Area. The option to enable a given IP address can be useful for specific cases of blocking – for example, you are already blocking an entire set of IP addresses or an entire country, but you want to allow access to one specific IP address.
Blocked/Allowed Content: Here you select which specific website options will be blocked for a given IP address/Area. If you select Access to the website, the entire website will be blocked, including forms and orders.
Note: You can enter your own note in this box, for example why the IP address was blocked or allowed, or which user it should be.
Status: Here you turn off or on any filter without deleting it completely from the list.
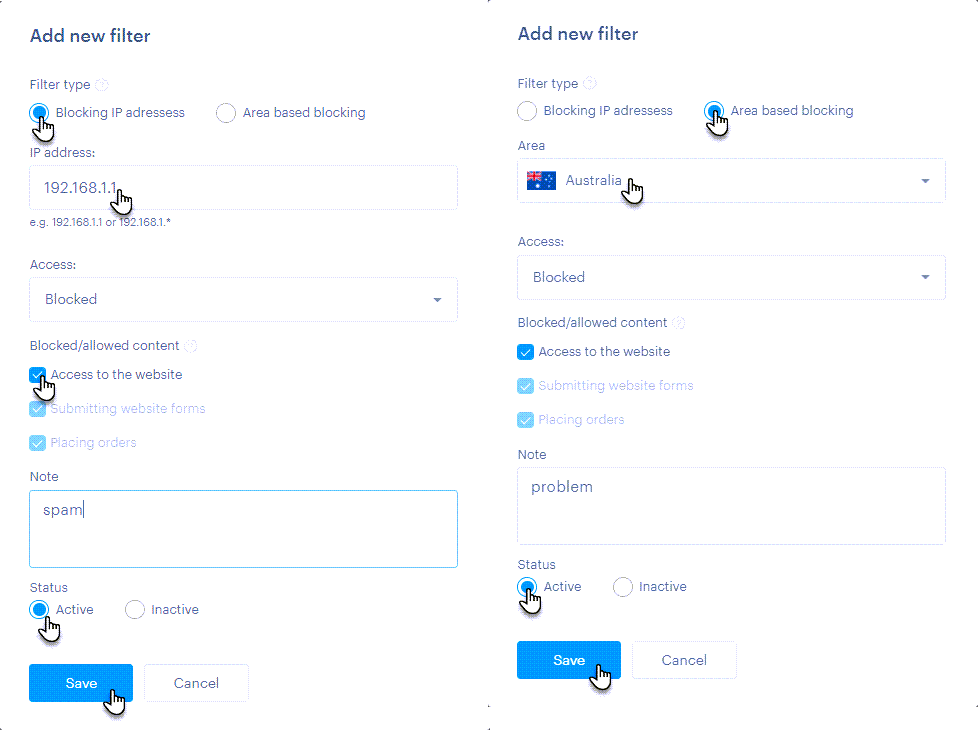
4. Complete the creation with the Save button.
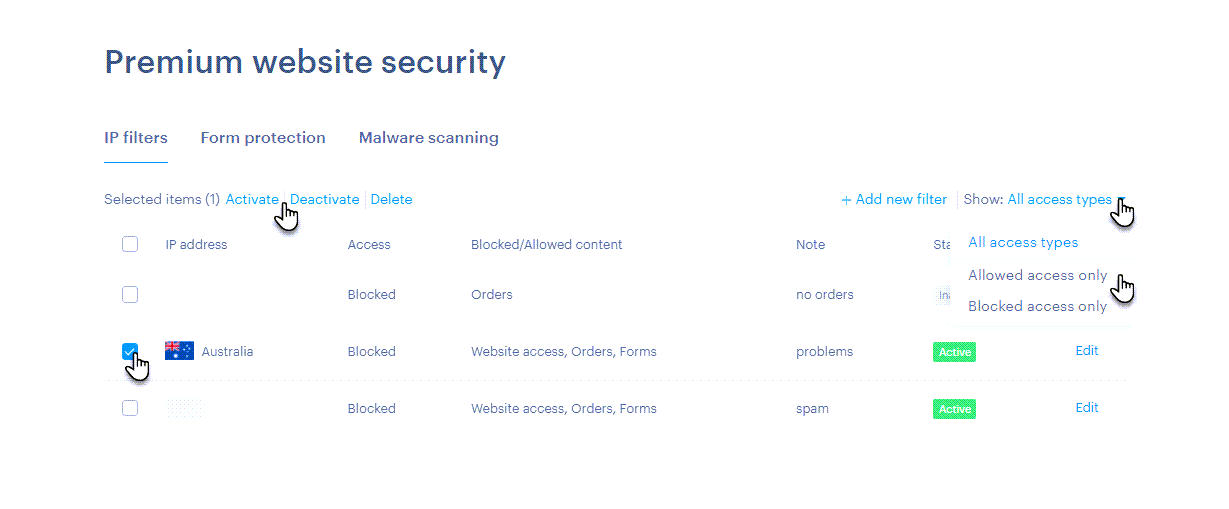
5. In the table you can see basic data about the blocked address or country. You can also activate, deactivate or delete filters by marking them. You can also use the option Show only Allowed or Blocked accesses. For more detailed information, click directly on the given filter.
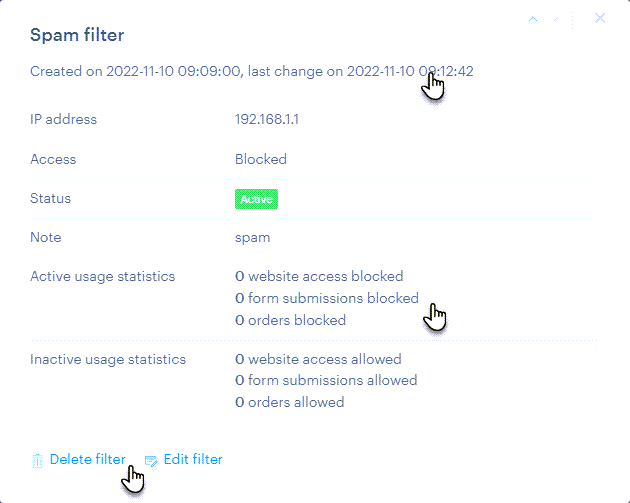
6. After clicking on a specific filter, you will also see the date the address/country was added to the filter, as well as usage statistics when the filter is turned off and on. The date when the block was last used will also be displayed, if applicable. You can also Edit or Delete the filter.
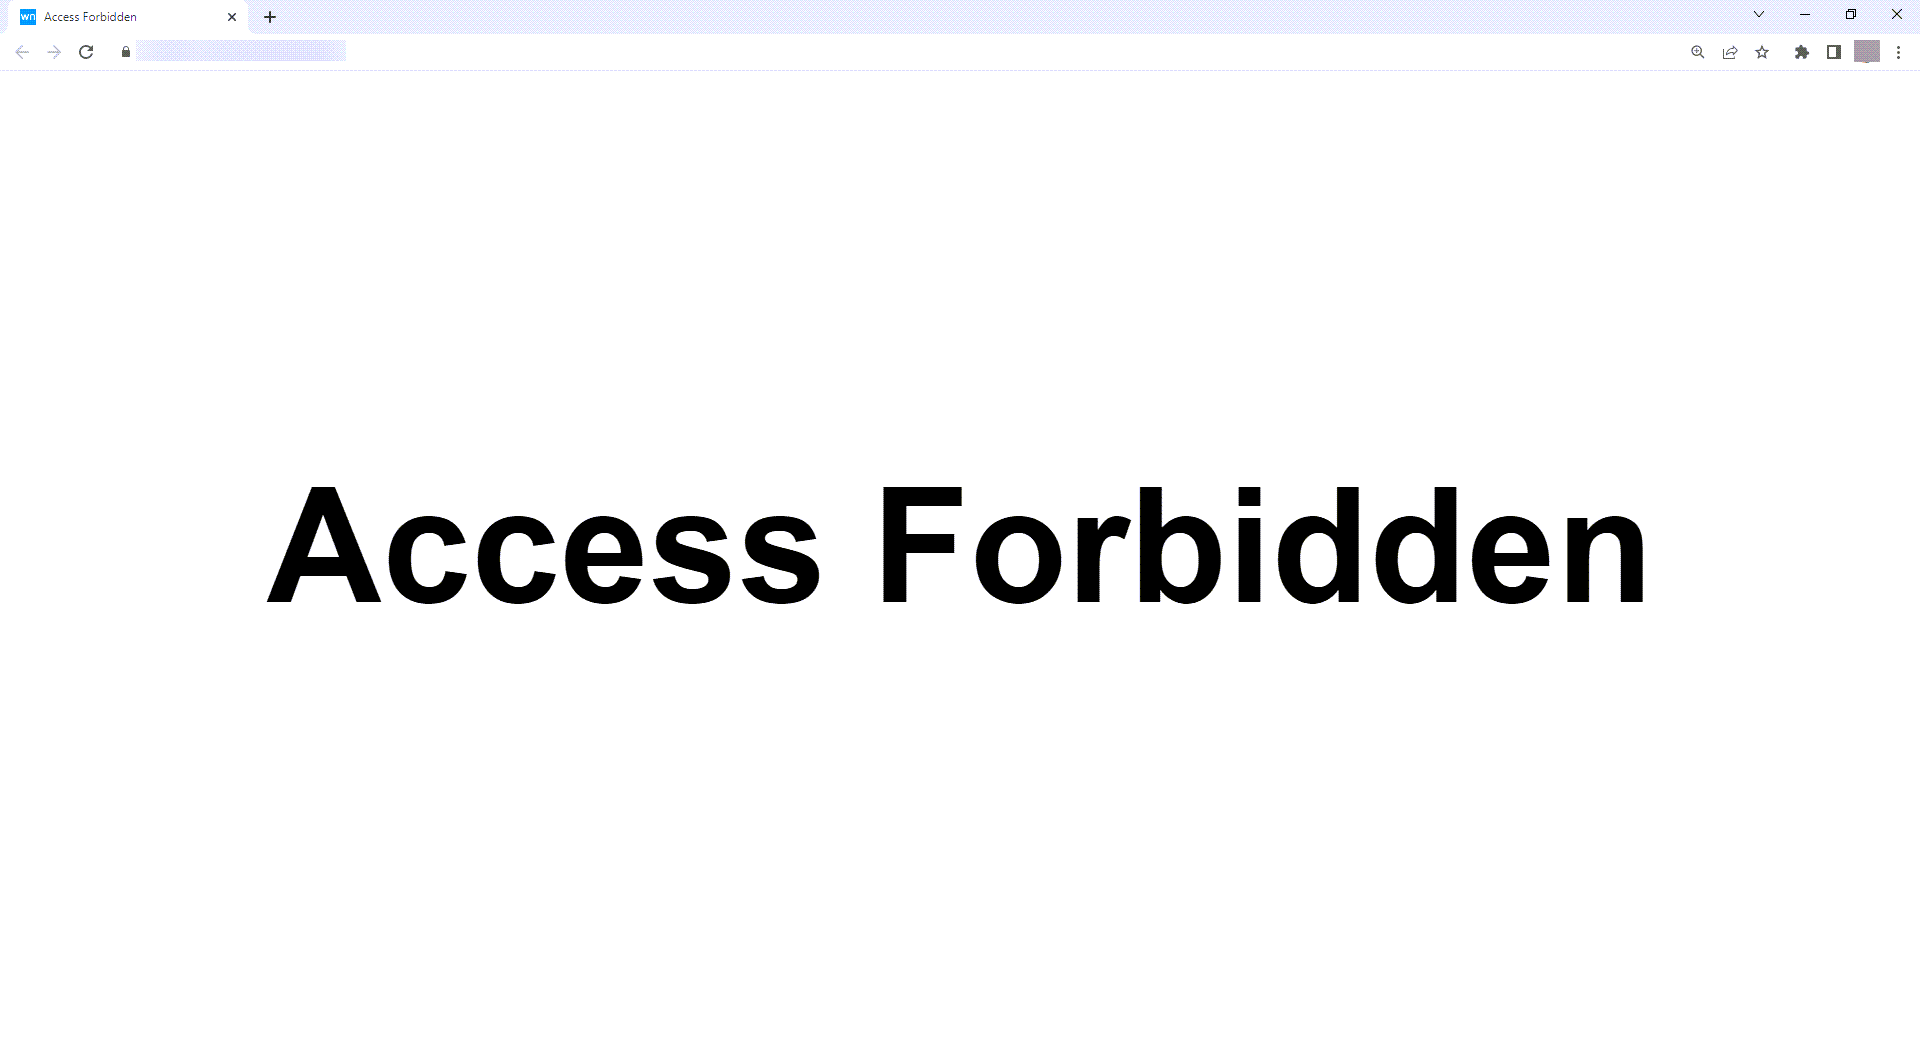
A blocked user (if the entire page is blocked, i.e. not only orders or forms) will subsequently see the message Access Forbidden on the website.
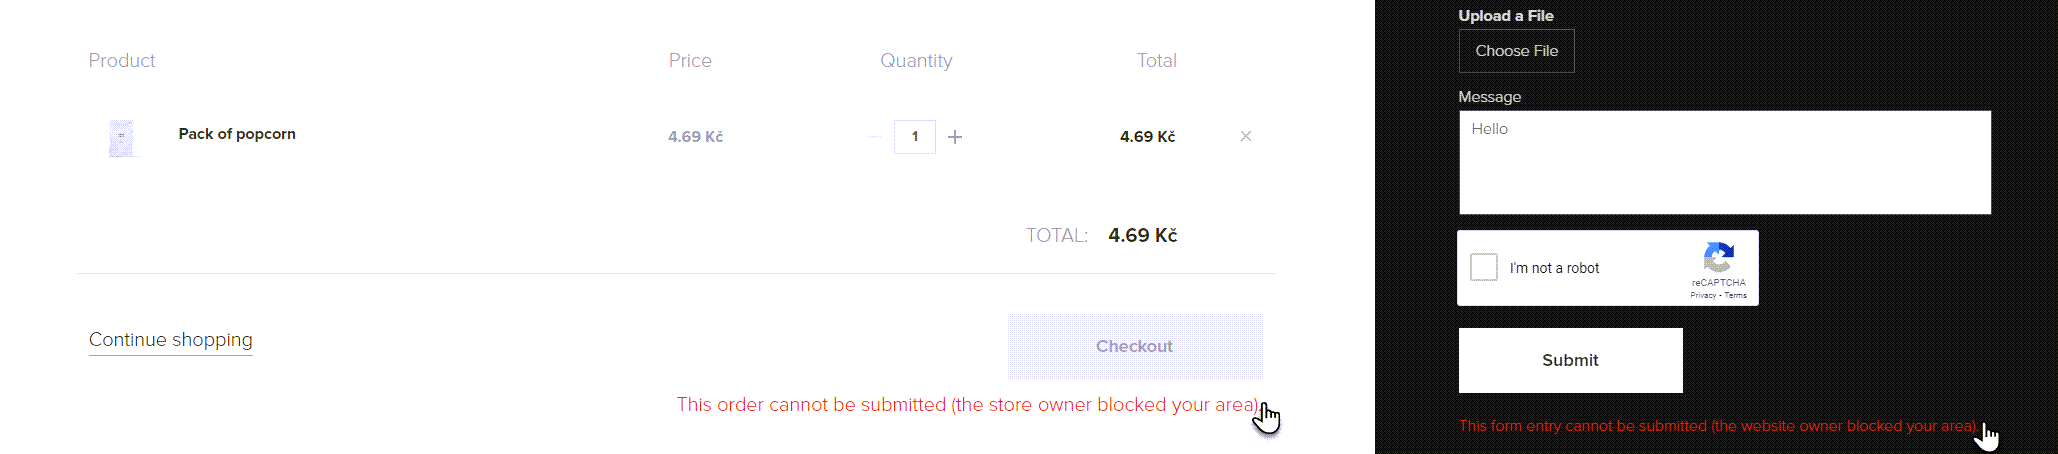
As part of a blocked submission of the form or order, the following messages will be displayed.
TIP: If you have an e-shop or contact form on your website, it will also be possible to block the given IP address directly in the Order management or Data from the forms interface. As part of the note of the given filter, information will be given that the blocking occurred from the form/order.