In this guide, you can find information about the automatic invoice creation feature, including the ability to set up automatic sending, invoice numbering, or invoice content. Automatic invoicing is a premium feature available from the Business package.
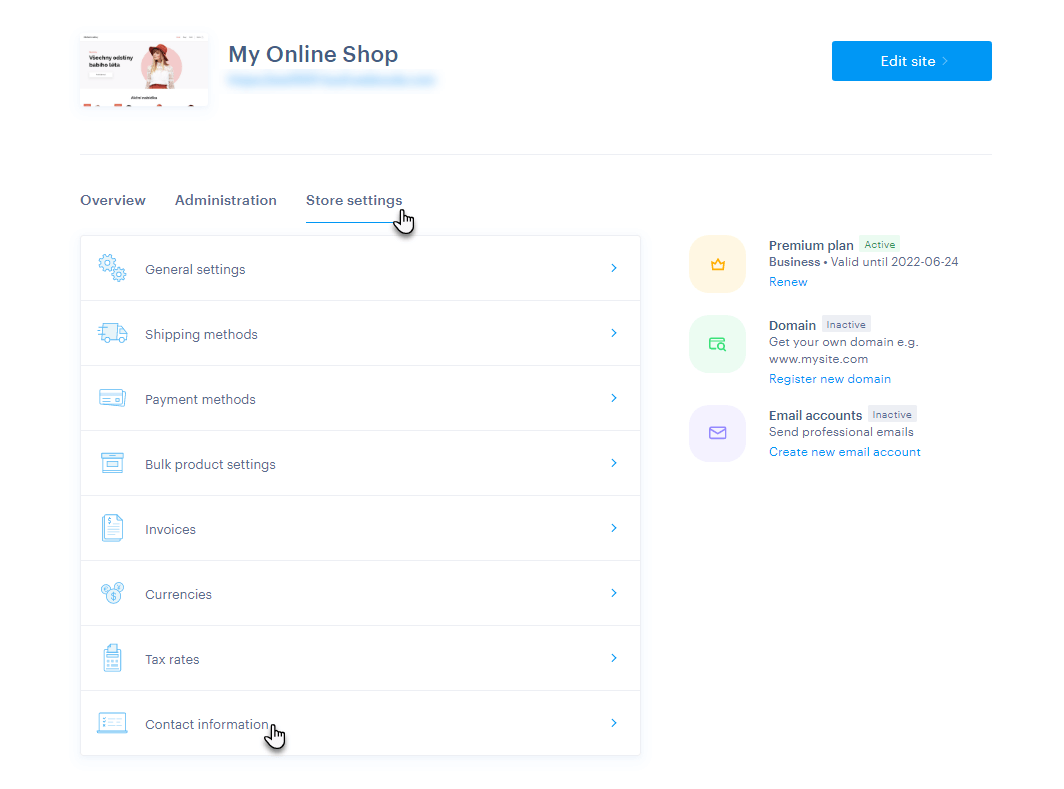
1. The ideal first step is to set the data about the e-shop owner. In the project detail, select Store Settings and then Contact information.
2. Fill in the information about your company here, this data will then also be displayed on the invoice as a Provider.

TIP: If you are not a VAT payer, this information is listed under the ID field on the invoice. If you are a VAT payer, the date of the taxable supply under due date also appears here. You can find more information about VAT settings within the e-shop here.
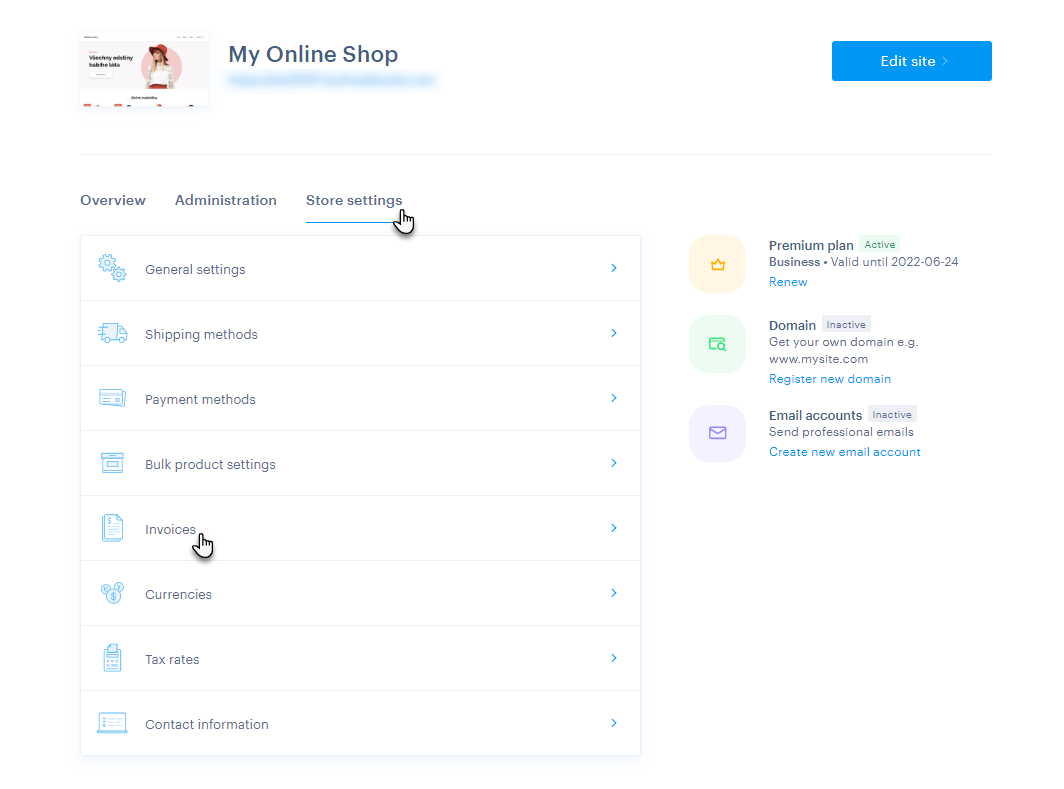
3. To set up automatic creation of invoices, select Store settings in the project detail and then Invoices.
4. Here you can set individual invoice properties.
TIP: The invoice is always sent to the user in the language in which the order was created. The same applies if you send the invoice manually from the Orders section. However, if you download the invoice manually to your computer, the invoice will be in the project language.
Options for setting up automatic invoicing
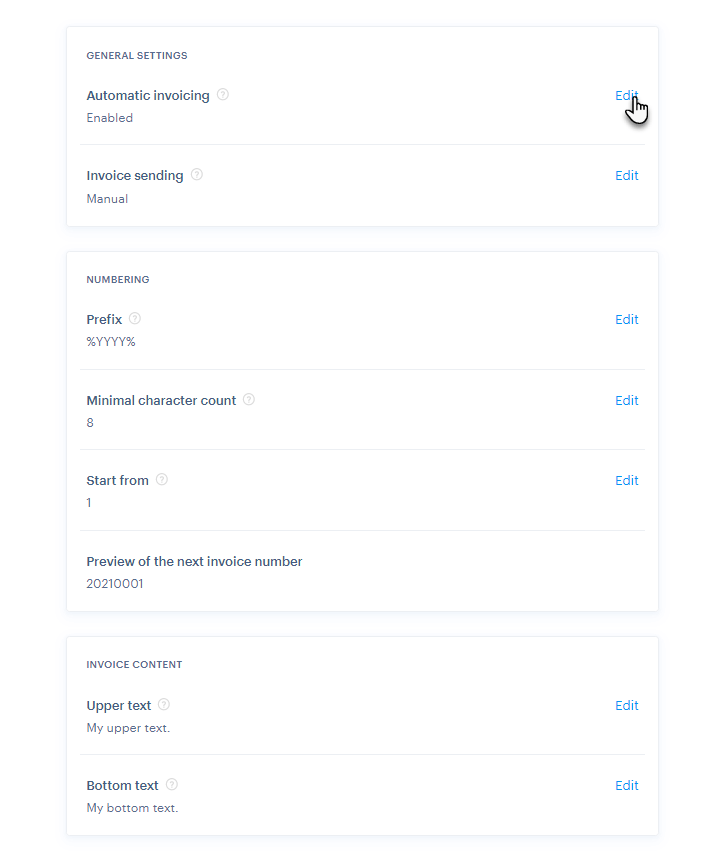
General settings
Automatic invoicing
Here you can disable or enable the automatic invoicing function. If the feature is turned off, invoices are not created and there is no invoice-related information in order management. Therefore, if you use another (external) system for creating invoices, you can leave the function turned off.
Invoices sending
At this point, you can turn on or off the automatic sending of invoices to e-shop customers. If automatic sending is enabled, the invoice will be sent automatically after the order is marked as paid.
IMPORTANT: In the case of payment of the order by card, payment is made immediately after the creation of the order and an invoice is generated and sent immediately. As part of another type of payment (such as bank transfer), the invoice is not sent until you mark the order as paid.
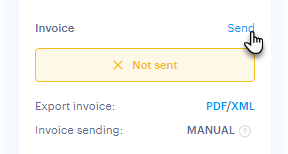
If the function is switched off, it is possible to send an invoice to the user only by using the button in the order details.
TIP: During Automatic sending, a PDF file will be sent as part of the Payment Order email. As part of the Manual sending of invoices, your own modified e-mail with a PDF file will be sent. You can find more information about the automatic e-mail editing function here.
Numbering
Prefix
At this point, you set the form of invoice numbering. Here you can use any numbers or letters (but not special characters such as commas or periods) as well as a constant (a label for automatic date entry).
The only special character that can be inserted is "%", as this defines the use of the constant. For constants you can use:
% YY %% MM %% DD% (the whole current date, for example 14. 09. 2021 is displayed in the form 210914)
% YYYY% (current year, such as 2021)
% YY% (current year in abbreviated form, for example year 2021 is displayed as 21)
% MM% (current month, such as September will be displayed as 09)
% DD% (current day, such as the 5th day of the month will appear as 05)
Minimal character count
Here you can set the length of the numeric code, ie the name of the invoice. The maximum length of invoice numbering is limited to 12 characters – this number counts the entire prefix (manually entered letters or numbers + constants).
Start from
This section is used to set the starting number within the invoice numbering. The default numbering setting is from 1. In general, we recommend that you do not change this value – however, if you have previously created invoices (for example in another system) and wish to continue within our system, you can change the starting number.
IMPORTANT: Invoice numbering is automatically reset according to the entered constants. If only the year constant is entered, the numbering at the end of the year is reset. If the month constant is also entered, the numbering at the end of the month is reset. If the day constant is also entered, the numbering is reset every day.
Preview the next invoice number
This section shows the form of invoice numbering. This shape will therefore be automatically generated on automatically created invoices.
Example of numbering settings
For example, enter "WN% MM %% YY%" in the Prefix so that the letters WN (an example of the abbreviation Webnode) appear at the beginning of the name, followed by the current month and year in abbreviated form. Set Minimum number of characters to 12 and set the Start from field to 15 (for example, because 14 invoices have already been created in another program). The final format will therefore be "WN062100015".
Invoice Contents
Upper text
Here you set the text that will be displayed at the top of the invoice.
Bottom text
The text filled in at this point is displayed at the bottom of the invoice.
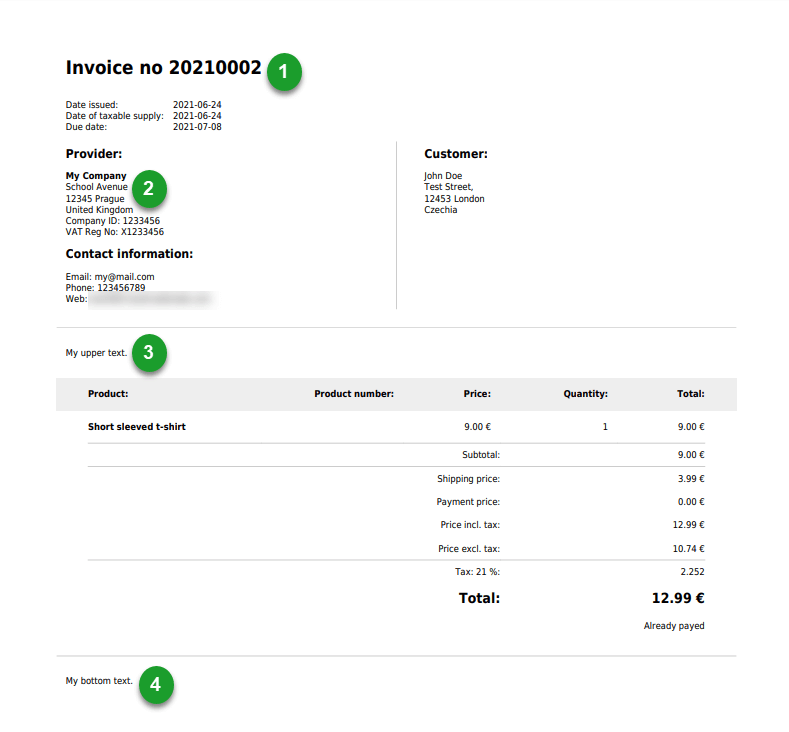
Example of an automatically created invoice
1. The number (name) of the invoice, which is edited in the Numbering section.
2. Information about the owner of the e-shop from the Contact Information section.
3. Upper text.
4. Bottom text.
TIP: If necessary, you can generally edit orders or possibly create manually.
TIP: Within our editor, it is currently possible to create rather simple invoices for payers or non-payers. For more advanced invoicing, such as reverse charge and special types of cross-border trade, or creating corrective documents a more advanced accounting program will need to be used.